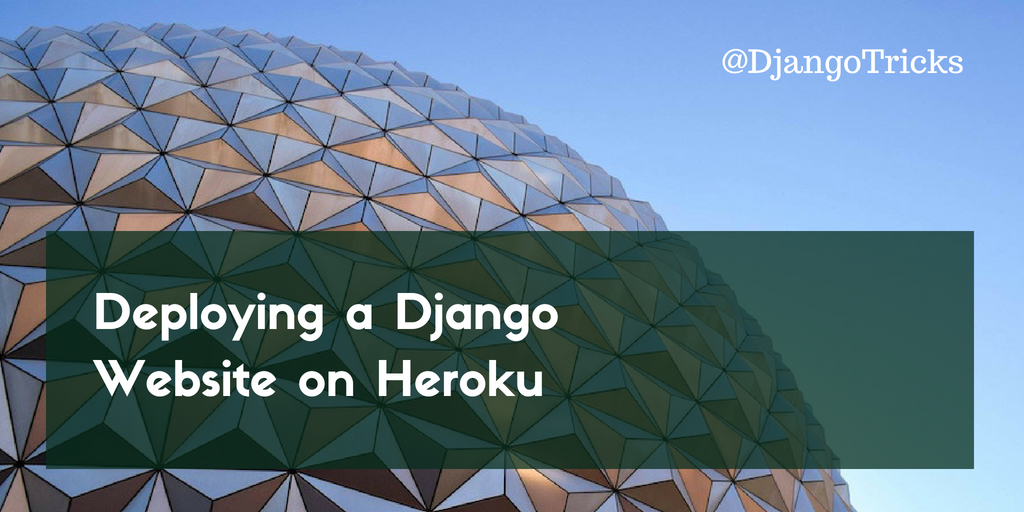
Once you have a working project, you have to host it somewhere. One of the most popular deployment platforms nowadays is Heroku. Heroku belongs to a Platform as a Service (PaaS) category of cloud computing services. Every Django project you host on Heroku is running inside a smart container in a fully managed runtime environment. Your project can scale horizontally (adding more computing machines) and you pay for what you use starting with a free tier. Moreover, you won't need much of system administrator's skills to do the deployment - once you do the initial setup, the further deployment is as simple as pushing Git repository to a special heroku remote.
However, there are some gotchas to know before choosing Heroku for your Django project:
- One uses PostgreSQL database with your project. MySQL is not an option.
- You cannot store your static and media files on Heroku. One should use Amazon S3 or some other storage for that.
- There is no mailing server associated with Heroku. One can use third-party SendGrid plugin with additional costs, GMail SMTP server with sent email amount limitations, or some other SMTP server.
- The Django project must be version-controlled under Git.
- Heroku works with Python 2.7. Python 3 is not yet supported.
Recently I deployed a small Django project on Heroku. To have a quick reference for the future, I summed up the process here providing instructions how to do that for future reference.
1. Install Heroku Toolbelt
Sign up for a Heroku account. Then install Heroku tools for doing all the deployment work in the shell.
To connect your shell with Heroku, type:
$ heroku login
When asked, enter your Heroku account's email and password.
2. Prepare Pip Requirements
Activate your project's virtual environment and install Python packages required for Heroku:
(myproject_env)$ pip install django-toolbelt
This will install django, psycopg2, gunicorn, dj-database-url, static3, and dj-static to your virtual environment.
Install boto and Django Storages to be able to store static and media files on an S3 bucket:
(myproject_env)$ pip install boto
(myproject_env)$ pip install django-storages
Go to your project's directory and create the pip requirements that Heroku will use in the cloud for your project:
(myproject_env)$ pip freeze -l > requirements.txt
3. Create Heroku-specific Files
You will need two files to tell Heroku what Python version to use and how to start a webserver.
In your project's root directory create a file named runtime.txt with the following content:
python-2.7.11
Then at the same location create a file named Procfile with the following content:
web: gunicorn myproject.wsgi --log-file -
4. Configure the Settings
As mentioned in the "Web Development with Django Cookbook - Second Edition", we keep the developmnent and production settings in separate files both importing the common settings from a base file.
Basically we have myproject/conf/base.py with the settings common for all environments.
Then myproject/conf/dev.py contains the local database and dummy email configuration as follows:
# -*- coding: UTF-8 -*-
from __future__ import unicode_literals
from .base import *

DATABASES = {
    "default": {
        "CONN_MAX_AGE": 0,
        "ENGINE": "django.db.backends.postgresql",
        "HOST": "localhost",
        "NAME": "myproject",
        "PASSWORD": "",
        "PORT": "",
        "USER": "postgres"
    }
}

EMAIL_BACKEND = "django.core.mail.backends.console.EmailBackend"
Lastly for the production settings we need myproject/conf/prod.py with special database configuration, non-debug mode, and unrestrictive allowed hosts as follows:
# -*- coding: UTF-8 -*-
from __future__ import unicode_literals
from .base import *
import dj_database_url

DATABASES = {
    "default": dj_database_url.config()
}

ALLOWED_HOSTS = ["*"]

DEBUG = False
Now let's open myproject/settings.py and add the following content:
# -*- coding: UTF-8 -*-
from __future__ import unicode_literals
from .conf.dev import *
Finally, open the myproject/wsgi.py and change the location of the DJANGO_SETTINGS_MODULE there:
os.environ.setdefault("DJANGO_SETTINGS_MODULE", "myproject.conf.prod")
5. Set Up Amazon S3 for Static and Media Files
Create an Amazon S3 bucket myproject.media at the AWS Console (web interface for Amazon Web Services).
Go to the properties of the bucket, expand "Permissions" section, click on the "add bucket policy" button and enter the following:
{
    "Version": "2008-10-17",
    "Statement": [
        {
            "Sid": "AllowPublicRead",
            "Effect": "Allow",
            "Principal": {
                "AWS": "*"
            },
            "Action": "s3:GetObject",
            "Resource": "arn:aws:s3:::myproject.media/*"
        }
    ]
}
This ensures that files on the S3 bucket will be accessible publicly without any API keys.
Go back to your Django project and add storages to the INSTALLED_APPS in myproject/conf/base.py:
INSTALLED_APPS = [
    # ...
    "storages",
]
Media files and static files will be stored on different paths under S3 bucket. To implement that, we need to create two Python classes under a new file myproject/s3utils.py as follows:
# -*- coding: UTF-8 -*-
from __future__ import unicode_literals
from storages.backends.s3boto import S3BotoStorage

class StaticS3BotoStorage(S3BotoStorage):
    """
    Storage for static files.
    """

    def __init__(self, *args, **kwargs):
        kwargs['location'] = 'static'
        super(StaticS3BotoStorage, self).__init__(*args, **kwargs)


class MediaS3BotoStorage(S3BotoStorage):
    """
    Storage for uploaded media files.
    """

    def __init__(self, *args, **kwargs):
        kwargs['location'] = 'media'
        super(MediaS3BotoStorage, self).__init__(*args, **kwargs)
Finally, let's edit the myproject/conf/base.py and add AWS settings:
AWS_S3_SECURE_URLS = False       # use http instead of https
AWS_QUERYSTRING_AUTH = False                # don't add complex authentication-related query parameters for requests
AWS_S3_ACCESS_KEY_ID = "..."                # Your S3 Access Key
AWS_S3_SECRET_ACCESS_KEY = "..."            # Your S3 Secret
AWS_STORAGE_BUCKET_NAME = "myproject.media"
AWS_S3_HOST = "s3-eu-west-1.amazonaws.com"  # Change to the media center you chose when creating the bucket

STATICFILES_STORAGE = "myproject.s3utils.StaticS3BotoStorage"
DEFAULT_FILE_STORAGE = "myproject.s3utils.MediaS3BotoStorage"

# the next monkey patch is necessary to allow dots in the bucket names
import ssl
if hasattr(ssl, '_create_unverified_context'):
   ssl._create_default_https_context = ssl._create_unverified_context
Collect static files to the S3 bucket:
(myproject_env)$ python manage.py collectstatic --noinput
6. Set Up Gmail to Send Emails
Open myproject/conf/prod.py and add the following settings:
EMAIL_USE_TLS = True
EMAIL_HOST = "smtp.gmail.com"
EMAIL_HOST_USER = "myproject@gmail.com"
EMAIL_HOST_PASSWORD = "mygmailpassword"
EMAIL_PORT = 587
7. Push to Heroku
Commit and push all the changes to your Git origin remote. Personally I prefer using SourceTree to do that, but you can also do that in the command line, PyCharm, or another software.
In your project directory type the following:
(myproject_env)$ heroku create my-unique-project
This will create a Git remote called "heroku", and a new Heroku project "my-unique-project" which can be later accessed at http://my-unique-project.herokuapp.com.
Push the changes to heroku remote:
(myproject_env)$ git push heroku master
8. Transfer Your Local Postgres Database To Heroku
Create local database dump:
(myproject_env)$ PGPASSWORD=mypassword pg_dump -Fc --no-acl --no-owner -h localhost -U myuser mydb > mydb.dump
Upload the database dump temporarily to some server, for example, S3 bucket: http://myproject.media.s3-eu-west-1.amazonaws.com/mydb.dump. Then import that dump into the Heroku database:
(myproject_env)$ heroku pg:backups restore 'http://myproject.media.s3-eu-west-1.amazonaws.com/mydb.dump' DATABASE_URL
Remove the database dump from S3 server.
9. Set Environment Variables
If your Git repository is not private, put your secret values in environment variables rather than in the Git repository directly.
(myproject_env)$ heroku config:set AWS_S3_ACCESS_KEY_ID=ABCDEFG123
$ heroku config:set AWS_S3_SECRET_ACCESS_KEY=aBcDeFg123
To read out the environment variables you can type:
(myproject_env)$ heroku config
To read out the environment variables in the Python code open myproject/conf/base.py and type:
import os
AWS_S3_ACCESS_KEY_ID = os.environ.get("AWS_S3_ACCESS_KEY_ID", "")
AWS_S3_SECRET_ACCESS_KEY = os.environ.get("AWS_S3_SECRET_ACCESS_KEY", "")
10. Set DNS Settings
Open your domain settings and set CNAME to "my-unique-project.herokuapp.com".
At last, you are done! Drop in the comments if I missed some part. For the new updates, see the next section.
*. Update Production
Push the changes to heroku remote:
(myproject_env)$ git push heroku master
If you have changed something in the static files, collect them again:
(myproject_env)$ python manage.py collectstatic --noinput
Collecting static files to S3 bucket takes quite a long time, so I do not recommend to do that automatically every time when you want to deploy to Heroku.
Further Reading
You can read more about Django on Heroku in the following resources:
Cover photo by Frances Gunn